One thing our little house could use is some curb appeal.
The flagstone exterior is lovely, but the too-small garden space between the house and walkway looks haphazard and overgrown. The three arborvitae trees won't stop growing and hide the front entry. The roof is old and poorly laid. At the same time, our driveway is just starting to crumble and no one has dug the decorative rocks out in years.
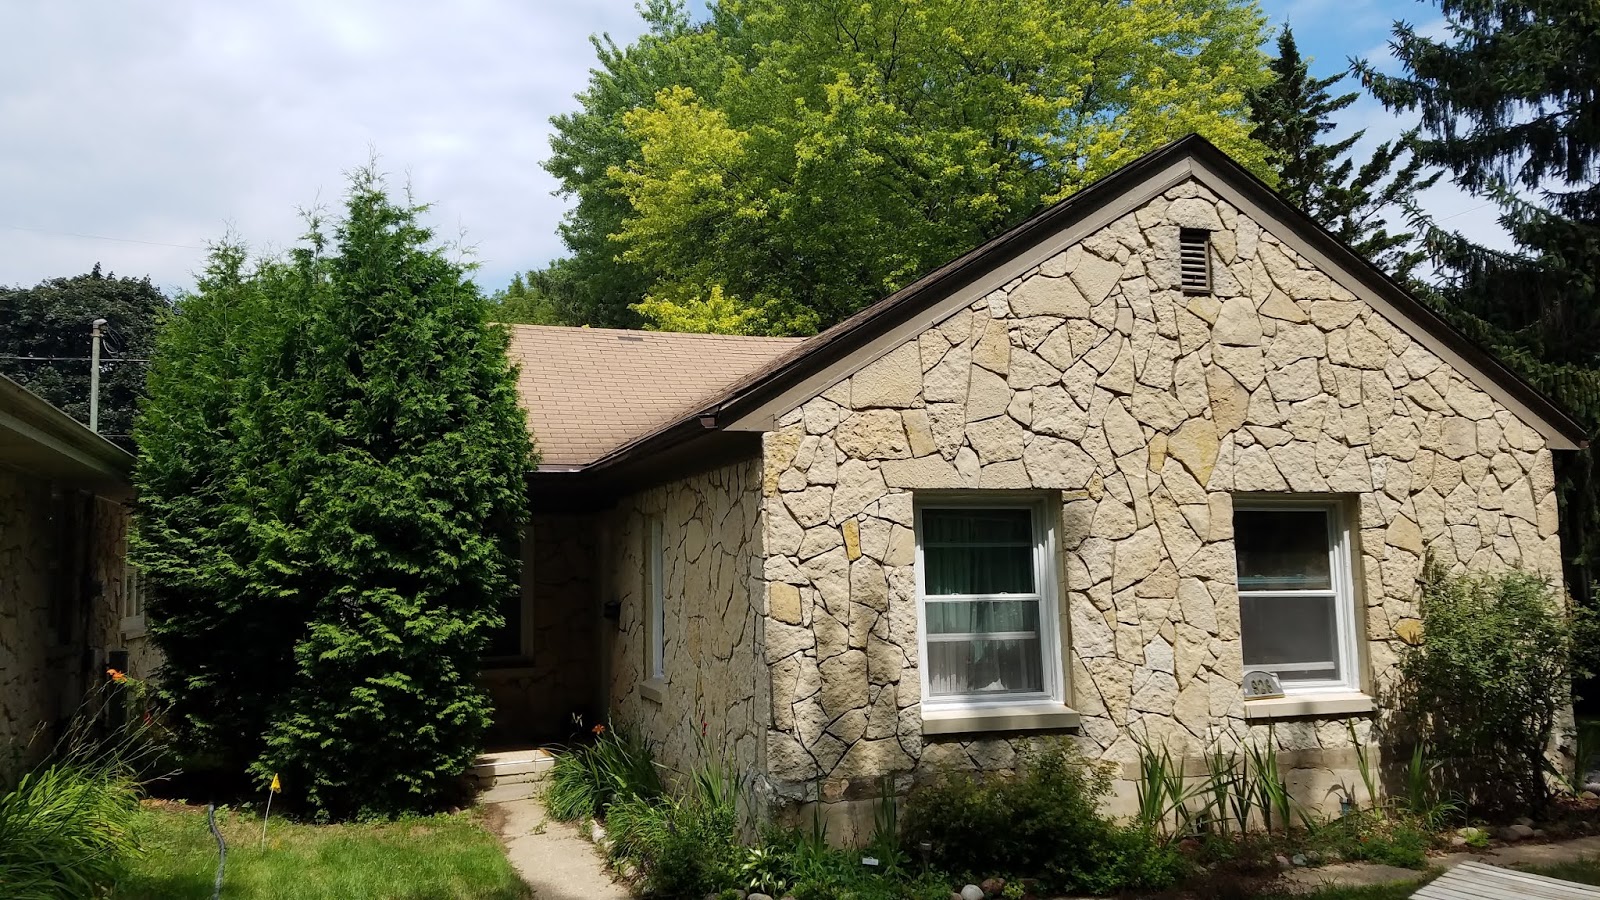
Luckily, after we replaced the roof with some GAF Timberline Weathered Wood shingles, our handyman friend was willing to trim the trees for us. The house went from hidden, to bright and inviting.
After cutting up the old trees and getting some gutters installed, I began making plans for the front and side yard near the porch. And then it started raining. I mean torrential downpours all week. More rain then we had ever seen at our house. Man oh man, did that little walkway flood. It looked like we had a stream constantly running. I felt bad for the mail person. I mean, no one wants to walk through a river (and all the remaining debris) to get to our mailbox.
I started digging up the buried rocks and fixing up the ex-tree space. It was a mess. And more work than it looks like.
Things started looking tidier.
Eventually I had a well-manicured space. And a sump pump hose. And a walkway that still flooded the next day.
So I started searching and
stumbled upon
ideas for a
dry creek bed, which would ideally fix my drainage issue.
I spent quite a few days trying to design the space. I'm a visual person and so I tried some photo editing, but honestly, what worked best for me was to lay sump pump hose in a general pattern, then move it out of the way and spray paint a layout I liked.
I got so into the process that I forgot to take pictures until after I started digging!
As you can see, everything looks like a mess right now. It's definitely going to get worse before it gets better.
My next step is to let things dry out a bit more, then keep digging. Hopefully I'll be laying landscape fabric and stones before we know it.
There are some key strategies in making this process work out for you.
- Call 811 before you dig. This hotline will send someone out, free of charge, to mark underground utilities. Directly to the left of my creek bed is a natural gas line. While these are normally buried 18-24 inches deep in my area, shifting ground and age may affect the depth. If I were to plan and dig without calling, I may have very well hit that line, leaving me with a disastrous problem on my hands.
Even now, I'm careful near the furthest left bend, just in case.
- Make sure your creek bed travels downwards. This means you may end up digging a lot deeper on the tail end than near the beginning.
I'm still struggling with this, as our walkway that is flooding sits below ground level. This means I need to have the start of my creek bed a few inches deep, even deeper than it already is. I'm still not there. By the time I get to the end, I'll be pretty far into the ground.

- Take your time. Let your brain mull over the possibilities, because once that bed is trenched out and those stones are in place, going back won't be easy.
- Think about the aesthetics early on. I haven't bought more rocks yet, but I'm already planning out the variety I'll need for the more natural look I'm going for. Some people recommend at least three different rock sizes, which seems reasonable.
You may also want to consider plants that will grow in and around a dry creek bed. Take into account how much water will flow through the bed at various times of the year.
- Remember, this is time-consuming labor-intensive! Be prepared to get sweaty, dirty, and use up a handle of afternoons (if not more) working on this project.
See Part II: The Dry Creek Bed Saga Continues here.