Sometimes I just want to make sure something in my life is pretty. And sometimes that something is a piece of paper.
We all need ways to track finances, organize meals, and take day to day notes. It's great to find a beautiful creation pre-made, but often times I find that someone else's design just isn't
quite right for my life. For the longest time I used Microsoft Word or, eventually, Google Docs to create documents and printables for free. Unfortunately, overlaying images or moving things next to tables was frustrating and ineffective. It took about two years of classroom teaching for me to figure out that
Google Slides is the way to go. Slides lets you create easily transferable, PDF-convertible, completely customizable pages in any size.
And it's free.
Step One: Log into Google and Access Your Drive
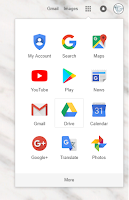
I know, I know. This seems intuitive to some, but if you're not a Google Guru, you may need to explore the options drive has to offer. You can access drive directly at
drive.google.com or through the drive button once you've
logged in to Google.
I use Drive for everything. My lesson plans, digital receipts, blogging documents, and other life stuff. Seriously, Google just about owns my life because I can access my drive anytime, anywhere. Sure, other platforms do this, but this platform is also connected to my email accounts and offers tons of free services, such as word-processing and simple file-sharing.
Step Two: Create a Slide
Simply click "New" -> "Slides" to create a slide. Yes, it's that easy.
Step Three: Size Matters, so Choose Wisely
Before you do anything, determine your paper size. I usually choose 8" x 10.5", which creates a natural margin; otherwise, your printer may cut off a bit of your product. You can also size images based on other factors. I use Slides to create my logos, which I'll size from 1-8 inches, depending on what I'm making. By pre-selecting the document size, you won't end up with weird printing issues, grainy images, or problems with a poor fit.
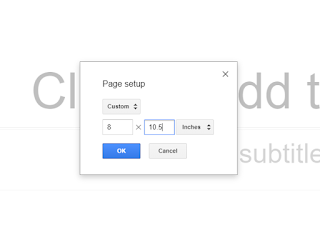
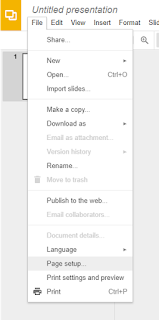
To choose the size, click "File" -> "Page setup" and type in the size of your document.
Step Four: Start Typing, Pasting, and Organizing Your Own Document
You can add text and images anywhere on Slides. You can resize, angle, and drag everything. There are also options to move items in front of each other, as well as create transparency, recolor objects, and adjust the brightness. I find the best way to learn these things is to first, mess around with the settings and experiment. If you aren't figuring it out on your own, a simple Google search, such as "
how to increase all font sizes slides," will get you the information you need.
Once you've created your printable, you can download it in various formats such as PDF, JPEG, PPT, and PNG.
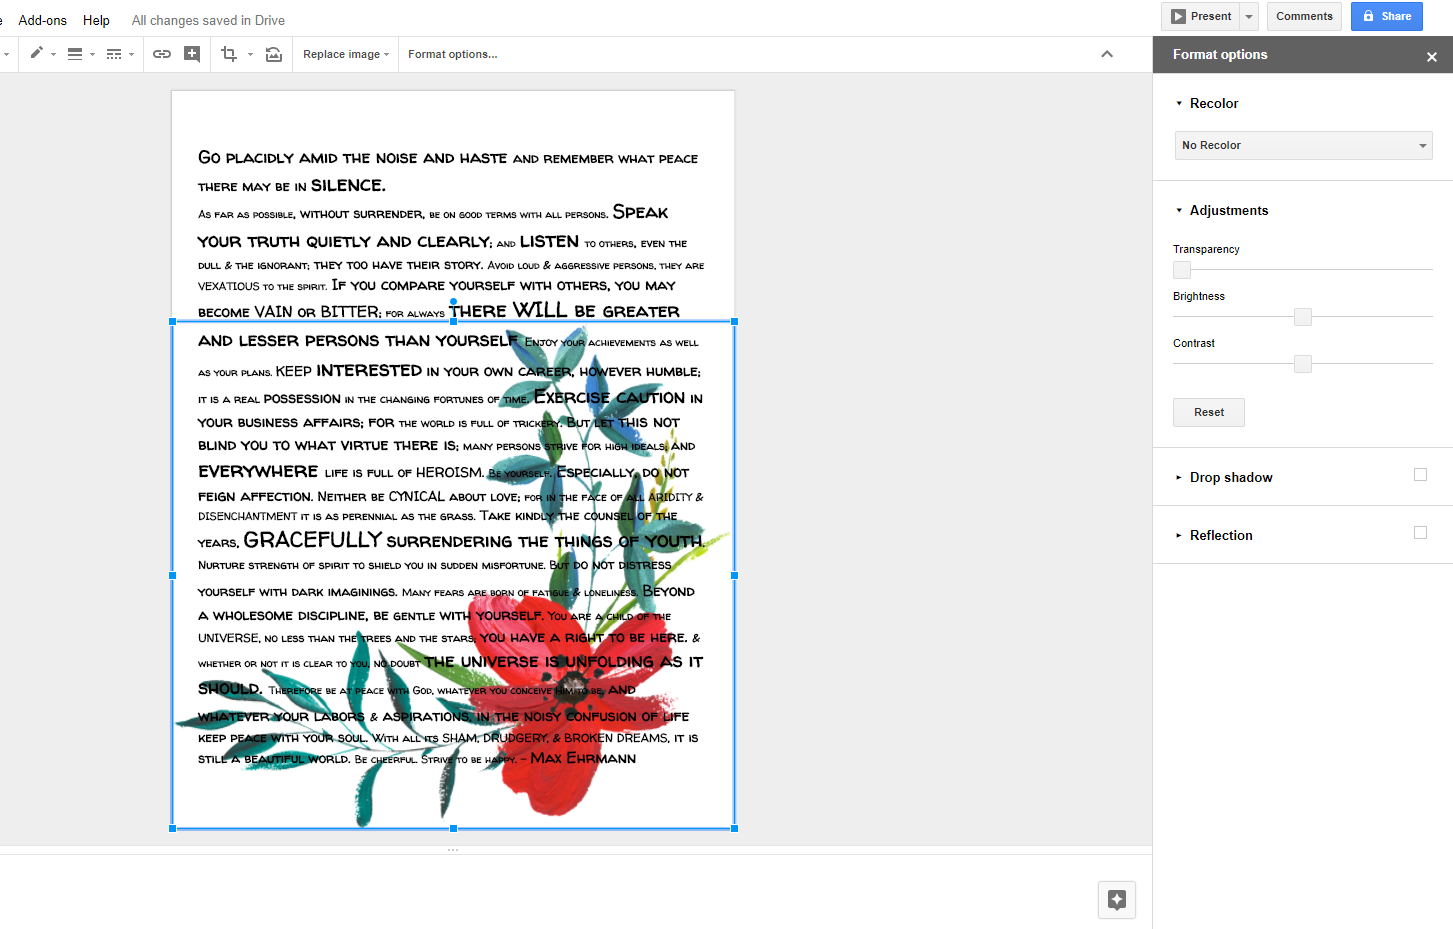 |
A document mid-process
|
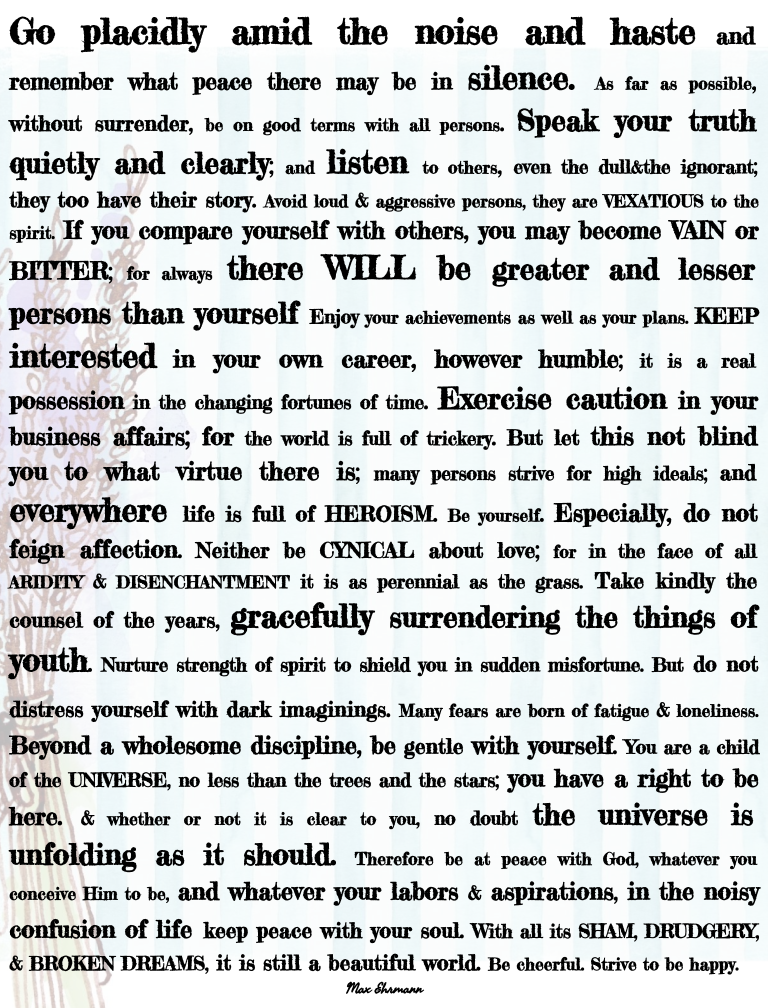
In order to create this post, I ended up making a free printable for you. Feel free to download Max Ehrmann's Desiderata poem, which I created with Slides. Simply right click the image below and click "Save As..."


